Wednesday 27 February 2013

January Beading

We took a project on that was meant to last about a month, but it took a little bit longer as we had a class cancel due to the snow.

Everyone choose a different colour and they all looked stunning, here is mine.

The girls birthday cards

The girls got some really nice handmade birthday cards so I thought I would share them with you


My valentine to Graham

I though this was quite good as he always use to refer to me as the old dragon in doors. 

Monday 25 February 2013

Parchment February

It was difficult to sort out the parchment class this month as my hand has been in a brace.  But I managed to do them over a few days.

This card was designed to be a valentine card, but I missed out the word valentine.  I traced the design using pens but you can use the proper pergamno pen and ink.  I coloured in from the back using perga liners.  I then used a grid to create the border.  Cut out and added to a card using brads.

This was created really easily.  Using grids I embossed a pattern in the middle of the vellum centre.  I then used grid 17 and embossed three butterflies, cut them out and attached them to the card.  Added a greeting to the middle.

Cards from 9th January

Take 6 x 6" and fold in half.  Decorate the edges of the card with peel offs.  The shapes are cut from labels 1 die.  Stick blue shape on to base card.  Stamp the little girl on to the white shape using black memento ink.  Layer on to the blue on main card. 

Stamp greeting on to a piece of white card.  Cut out and layer onto blue.  Fix on to card.

Colour the little girl in using pro markers, the colours I used are Tan, Caramel, Black, Magenta, Blush, Saffron, Cool Grey 1, Leaf Green, Lime Green, China Blue, Cornflower and Pastel Blue.


Cut out the main panel and stick to card.  Stick this panel up to the fold edge, leaving a small border around the other three edges.  Cut out insert panel and stick into middle of the card.  Cut all the pieces and decoupage.  Add greeting of choice.

Take A5 card and fold in half.  Take Blue card and cut a panel 14.5 x 20.5cm.  Take Pearl card and cut a panel 14 x 20cm.  Cut another blue panel 13.5 x 19.5cm.  Layer all three panels and stick on to main card.

Cut a panel from the pearl card and emboss panel.  Chalk the embossed area. 

Take the die cut decoupage and push out and stick together.  Layer the embossed panel over the top of the decoupage panel and stick together.  Layer on to the main card.  Add any peel offs to the edges of the card.

Flower Stamp in three designs 16th Januray


Take 6 x 6" card and fold in half.  Take Black card and cut to 14.5 x 14.5cm. Take white Card and cut to 14 x 14cm. Layer these and stick on to card. 
Take black card and cut to 12.5 x 9cm.  Take white card and cit to 11.5 x 8cm.
Take flower stamp and stamp using black memento ink.  Cut this panel into three sections and layer on to black card.  Fix on to main card.
Take black spotty strip and add to the base of card, cut the remainder of strip and add to the top of the card, cutting ends into points.  Add card candi and gems as required.


Take white scalloped card and fold in half.  Take black card and cut to 14 x 14cm.  Take spotty card and cut to 13.5 x 13.5cm.  Layer and stick on to card.
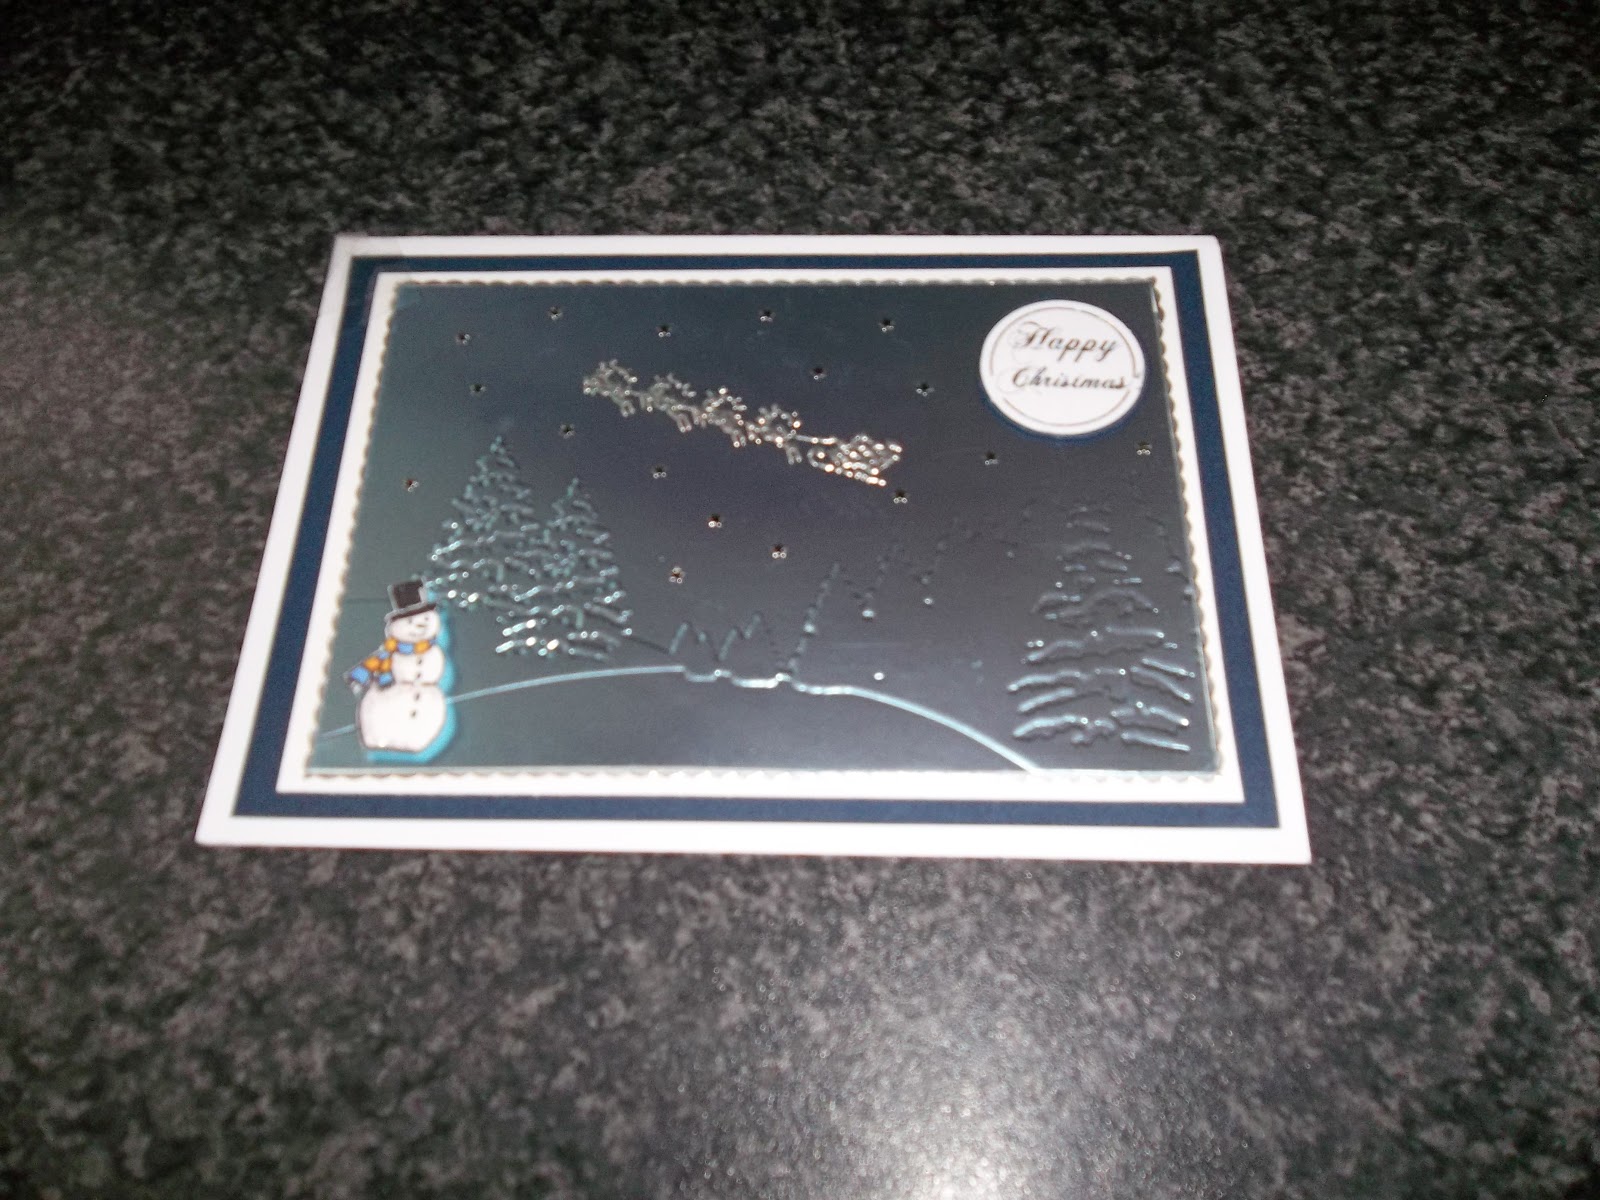
Take black card and cut to 12.5 x 10.5cm.  Take white card and cut to 10 x 12cm.  Stamp on to the white panel using black memento ink. Layer two panels and stick on to main card.
Stamp greeting on to white card.  Cut scalloped circle out.  Layer and palce on to card.  Add card candi as required.
The stamped image was coloued with pro markers - Turquoise and warm grey 1.

Card Closed.
Card open.

Take card and fold in half.  Take purple paper and cut two pieces 12.5 x 14cm.  Stick together three sides, top, left and bottom.  Then stick this panel on to card.
Take white card and cut to 12.5 x 11.5cm.  Stamp on to using black memento ink.  Fix ribbon around the top of this panel then layer on to the purple paper on main card.
Take white card and cut a panel 12.5 x 9.5cm and check this will slip into pocket created.  Stamp butterflies on to the righthand side of this panel.  Stamp a greeting on to this panel.  Stamp a greeting on to a spare piece of white card.
Cut two circle from purple paper.  Layer the greeting stamped and place on top of ribbon.  Fold the other circle in half and layer over end of panel, glue in place.  Punch a hole, and add ribbon.  Slip into pocket.


Christmas Cards

Well I really don't know where this year has gone.  Time goes bye so quickly.  I have been meaning to update all this for ages but  I never seem to get round to it.  Well here is my first post of 2013.  Jeanette wanted to see my christmas cards received and we have not managed to get together so I though I would post them on here for you all to see.

This one was from Jenny
This one was from Ann T
This one was from Sandra M
This one was from Andrew and Michelle
This one was from Linda and John
This one was from Joan
This one was from Angie & Barry
This one was from Sue
This one was from Helen
This one was from Heather, Vince, Emma and Ryan
This one was from Michelle
This one was from Val
This one was from Chris and Tom
This one was from Joan
This one was from Rita and Jack
This one was from Sarah
This one was from Ellen
This one was from Jeanette and Peter
This one was from Jeanette R
This one was from Janet F
This one was from Chris
This one was from Jean
This one was from Ingrid
This one was from Jeanette and Peter
This one was from Sandra H
This one was from Sandra and Ian
This one was from Sue and Peter
This one was from Doreen
This one was from Connie
This one was from the class
This one was from me to Graham