Wednesday 19 December 2012

Christmas Lantern

Every year I like to make something to decorate the table.  It may be small gifts for everyone or a centre piece.  This year I made either a centre piece for the table or just a decoration.  It was rather fiddly as many found out.

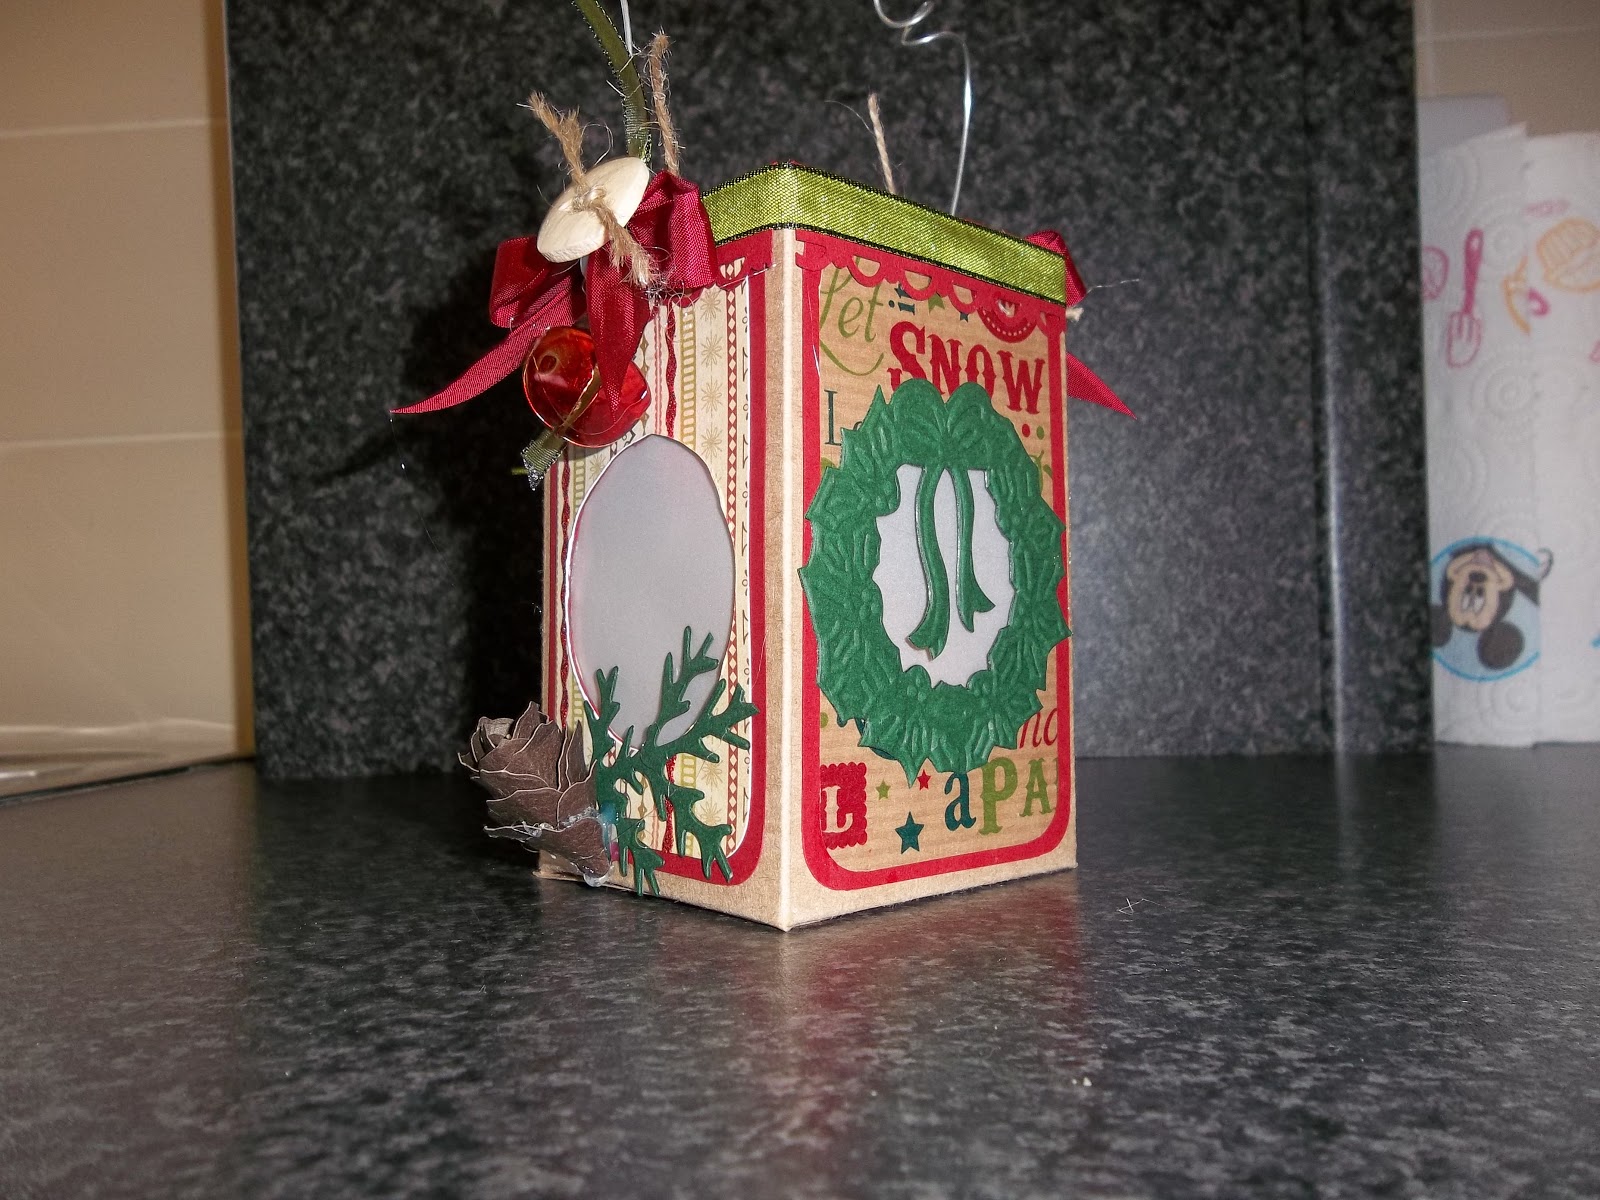
Here are a few pictures so you can see it from many different angles.


The lantern was made first, the roof and then the base, with a door opening to be able to tuen a candle on and off.  The stand was not too fiddly.  The top and bottom were done as two platforms.  The legs were done and were like triangle pilars.

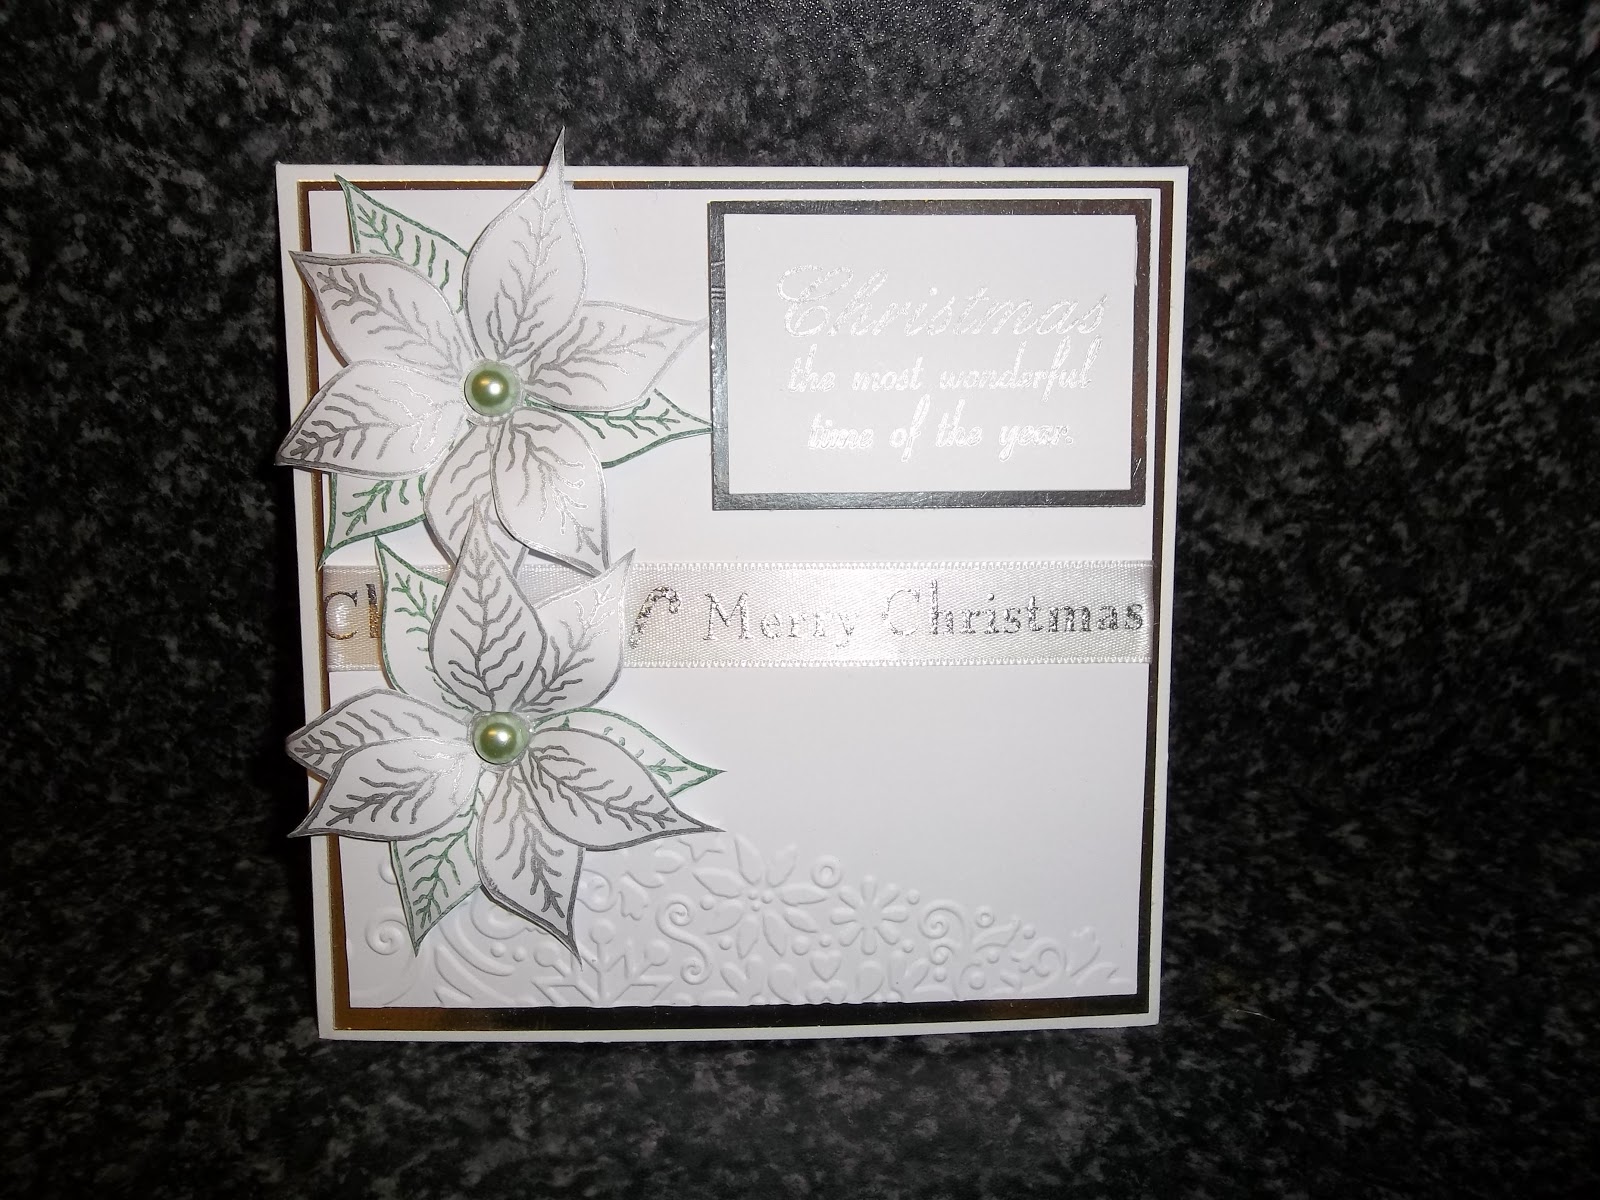
The lantern hung from the top of the stand and was decorated with tinsel, a poinsettia clip, and paper poinsettias.

I have to say very time consuming, but the finished article was well worth the effort.

I then made a second lattern, this time a stand alone lantern.  I made the lantern hinge in the middle so that I could use it as a chocolate box.


Again I decorated it with tinsel and poinsettia's.

I hope you all have a lovely christmas, as with only 1 week to go, I am sure you are all going crazy getting eveything ready.

Monday 17 December 2012

Christmas Book

Every year I try to do something extra special for my mum and dad.  My mum always displays the cards for weeks after christmas.  She took her birthday card down, to put her christmas card up.

This time I thought I would do a book card.  It took me a little working out, but with the help of a magazine, I got there.


This is the front page.  It is not quite an 8" square.  The red piece is 7 1/4".  The stamped background is 7" square. It was stamped with a christmas branch stamp by Chloe. The middle was cut out of gold mirri card using a spell bimder.  The poinsettia's were cut out of green and red card using the marianne cutting die.


This is the middle. The red card was cut to 7 1/4".  The shape in the middle was an xcut die, layered and a ribbon at the top to make it look like a bauble.  A deer to decorate, another marianne die.  More poinsettias in the corners.

To make the book, I took a piece of A3 card and kept the length, but cut the width to 7 1/2", then scored from each end 19cm, to create a spine.

The surround was made very simply.  You cut 4 pieces of card the same size, 7" square.  Then using the hougie board, you score at every half inch.  Concertina fold them, interlock the corners, glueing the front and back, then stick into place on the inside of the main card.

My mum loved it.  Hope you enjoyed making it too.

Only 2 weeks until christmas!!!!

Sunday 16 December 2012

Wire Beading

This week we had a class using wire, I usually do very little using wire as I find they are often a case of just threading.  But when I saw what angela had done, I decided it was time to do a few bracelets.

I started with one and it was so pretty, and then another.  Then my daugther Sam said "I like them" which is really unusual for her.


Then during the morning whilst in the company of others, I tried doing a matching necklace and bracelet.  I was really pleased with them, so another christmas present sorted.


Only 2 weeks until christmas!!!!

Sunday 9 December 2012

Driving Home for Chritmas

This set is from Little Claire Stamps, and I was really impressed with the images.  They really stamped well.  We have used them in several ways, so here goes with the samples.


This was done on a DL card.  The car stamp was stamped in the middle then part in front and part behind.  Coloured using pro markers.  A little glitter was added to create a road effect and a greeting added and a peel off border.


This one was done with a single car image, coloured with pro markers.  Cut at a funny angle, layered.  A couple of layered panels in the background, one being an embossed panel.  A greeting, layered on die cuts.  A snowflake punched out and card candi to decorate.


Here we did a simple robin card.  The stamp was of just 4 robins, so we stamped it 3 times in a row, coloured them again with the pro markers.  Layered onto a couple of layers, then added card candi and peel offs to decorate.


This was also from the same stamp set.  The post box was stamped and layered.  The base card was a sheet of A4 card folded in half, then the front panel folded back to the fold.  The front section was layered then a snowflafe border was punched out and put down either side.  Postbox coloured.  A greeting added and the fourth card complete.

Only 3 weeks until christmas!!!!!!


Little Snowman and Boot Stamp

This week we did some stamping.  These were stamps that came free with a magazine I purchased. 


This one was done using the boot stamp, coloured with pro markers.  Layered on die cuts, embellished with memory box die cut corners and card candi to decorate.


This one was done using my favourite colours.  We arranged the stamps on the block to create a picture, again coloured with promarkers, and layered with die cuts and card candi to decorate.


This one was using the same snowman stamps but arranged differently.  Layered on die cuts, and patterned card.

I love stamping and colouring, it was my first craft I tried.

Waterfall Necklace


We did a beautiful necklace in class and I have made several for people since, I also made some whilst on holiday.

Crystal and lilac.


Crystal and black

You can also make it without the waterfall section.


You can also make it into a bracelet.


Parchment for christmas

Parchment is one of those crafts that can be so delicate.  It is also a craft that one error and you need to find away to cover it up or start again.  It is also something you can spend hours on and no one knows.

This month we used some of the new grids.  There is one with all deer's heads and so I used it to make a selection of cards.  From this everyone got ideas and of they went to create.

The grids I used were No:35     No:23     No:9
Here are the ones I made:


Only 3 Weeks until Christmas!!!


Friday 7 December 2012

Beaded Baubles

When Angela asked me about making some decorations, I though what a good idea.  So we did a bauble in a class.  Everyone enjoyed making it including me.  So I decided to make all my ladies a bauble.  Luckily I though it would have to be a small one or I would never get them all done. I am so glad I did as I still did not allow for how long they took.  A suggestion to anyone thinking about beading some baubles, just do a couple now and then.


Red and gold on a red bauble


White and green on a red bauble


White and green on a small silver bauble

Next year I might try and be more creative and try one with tassels.

December Class with Lynn

You never know what you are going to be doing until you get there.  Which is a nice surprise.  This month, we made a little candle holder.  It was really cute.  We made is all using pretty papers, and added wire for a handle.  die cuts, string, ribbon and buttons to decorate.  We also had ago at making a pine cone.  I liked this, it was another tim holtz die and you rolled it up and it looked good.  I think it would also look like a very pretty rose if done in another colour.

I added buttons and it did make a difference, but it is something I usually leave off as I am not a button person.  I was really pleased with my attempt and this one is going in my lounge on display.


Rita's November Class

What a fun afternoon, Jeanette arrived with me and off we went to Rita's.  We were late but that was my fault.  I had been doing a beading class in the morning, then had to get dinner on and then when we left the rain was coming down and I had to take the van as the car is off the road.

We soon caught up with the first card.  It all fitted in to a nice box.  It must have taken Rita along time to prep this card, as she had stamped and embossed all the poinsettias. We also used an embossing folder that embossed and cut the middle out, we distressed the edges, before putting on to the card.  The pink gems in the middle really set it off.


We also did a lovely black and white card, one of my favourite themes.  I love black and white or any monochrome cards.  Again there was lots of die cuts and we cut them out using the happy cuts.  Again a beautiful card.


The third card we did was a small square card with an embossed section and poinsettias, but I love the fact we only embossed a small section of the folder.


A wonderful class, and I can't wait for the new year to see whats coming.

November Class with Lynn

Lynn's classes are always diferent from my normal things.  I really enjoy making them.  This month we did a journal, I was so pleased with how mine was coming along I bought another kit.  I have made and finished the first one and am giving it to a close friend for christmas.  The other one for me keeps getting left as I keep thing I will finish it later its only for me it really doesn't matter, but time goes on and I really would like the calender (2013) to still be usable.


This is my finished piece.

It was really nice that Kayleigh came to this as she also enjoyed making it.  The evening ended up fairly expensive for me as she too wanted one for herself and one for her nan for christmas.  She is alot like me though finished the one for her nan but not herself.  We will have to have a girly night and do some crafting.

Here is her finished piece.